Wednesday, December 7, 2011
Wednesday, November 23, 2011

so it's time to start looking at upgrading our system.......
Let's first address the concept of how to hold onto a piece of wood.........
One method is to glue a 3" disc to your blank and then screw the faceplate to the disc.
so we cut a few disc from 1" baltic birch plywood
and glued them to the blank and let set overnight......

better make a few 'cause this takes a lot of time..........

so then you screw the faceplate to the inside of the bowl

and turn & finish the outside of the bowl as much as you can
Once you've turned the outside, then you flip it, undo the faceplate and remount it to the sacrificial disc.
Now you're working on the inside of the bowl
After you turn and finish the inside,
you then separate the bowl and the disc with a hammer and a chisel.....
but now you have a bowl bottom that needs to be sanded and finished

...see where this is going???????
Nowhere!!!! because unbeknownst to us there was a much easier way....
but that's later in the EVOLUTION
.....so this works pretty good to this point...at least we're getting some results....
this bowl probably took about 3 hours


stay tuned for more of the EVOLUTION

Hey Billy...clean up for me will ya?
...I'm going online and then to the store......
The Continuing Evolution of Making Bowls
We are now at the stage where we need a chunk of firewood to stick onto this thing and start spinning it
You start with a log
and then you slice it in half
take a break............

make the chunks round
take another break
and make more chunks
Now we have to prep one o' these chunks so it's centered and balanced and doesn't come flying off.
First step:
Find the center....

and mount a 3" faceplate
(that was another investment ....did I mention the financial abyss?????)

now it's time to spin one o' these suckers........
...so we mounted it and started cutting away everything that didn't look like a bowl.
Guess what??????? you Can go too deep.....

We'll find something to use it for....

Undaunted, I'm back at the lathe......

Finally after about 4 hours, this is what I managed to scrape out
...not sure if this will sell at the Farmer's Market......
....but there's more later....much more


Stay tuned for more of the evolution..........
Monday, March 21, 2011
Next phase
Welcome to part two of the Playstation evolution.
So Robbie,The Wood Turning Guru, invited us up to HIS shop and gave us a 101 on turning.
Wow what a shop he has......
He's got a full woodworking shop the size of my house!!!!
Sharpening
Sharpening
Sharpening
Sharpening
That's the key. You want the steel to be cutting the wood not chipping away at it.
So in order to get another step closer to successfully turning a piece of wood ,
we know that we need to get a grinding wheel......
So we discussed it among us
| That's Robbie holding Billy's nose to the grindstone.....!!!! Hey I'm just watching at this point..... |
So we need a grinder......aarrryyyeee.....more tools!!!!!!
| whoa..... Tommy Boy. They make grinders you can buy..... |
Billy took over the helm of the sinking money vessel and invested in one of the best grinders on the market..
a Baldor............mmmmm
He also bought a carborundum wheel and a cotton rouge buffer.
Nice..we've got our grinder ...now what?
how do you use it properly?
It's one thing to have a grinder but what about getting the angle of the steel to the wheel?
It's got those little, floppy, flat supports but they're useless for this precision stuff.
| no way to set it and produce a perfect angle there must be another tool we can buy !!!! an attachment!!!...that's it!!! a jig attachment to maintain the angle of the gouge !!!! Get out the Rockler catalog!! The great one looks at us and says 'grashopper when you can snatch the pepple from my hand, then you too shall be a tool whore'...or something like that..... So what do we do...O' wise one? Robbie whips out some scraps and a 2" forstner bit and a couple of nuts and remounts the grinder with this homemade guide/jig that you set the handle of the tool in and slide the holder in or out until you get the perfect angle of the tool coming to rest on the stone. I'm in awe....this is soooooo simple!!!!!! |
 |
| The gouge never touches that little angle rest. |
 |
| simple ...scraps....and another tool making tools....... |
| a quick little plan if you want to build one note: use a clamp or a thumb screw to lock it in place. |
 |
| the round handle of the gouge can turn inside the round pocket as you twist the cutting edge onto the stone. |
Remember we haven't even put a piece of wood on the lathe yet......
I'll be back later as we start to gather some chunks of wood and figure out how to mount them
onto a high speed spinning machine that can hurl chunks right past your ear.......
Next purchase at Homeboy Depot
The creation of Tom & Billy's Playstation.
Hi everyone......
So in case you were wondering what I've been up to in my woodworking career,
I'd like to share with you my journey into...........
So this is what we refer to as "hill-billys shop class"
First off let's look at the shop and the equipment we're using.
I say "we" because I'm doing this with my good friend, Billy.
Neither one of us has ever done anything like this before.
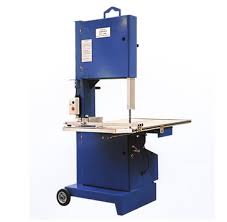
The basic tools needed for turning bowls are a band saw and the lathe.
First the band saw
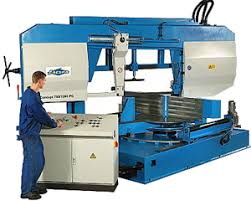
We've seen these machines that are hundreds of dollars and take up 1/2 your shop and use lots of electricity.
Our fist discussions were geared towards trying to be "green" and not drain the grid of any unnecessary loads.
He likes to think "outside the box" and I keep trying to put him back into it....
So Billy came up with the idea of converting a treadle sewing machine into a band saw..........
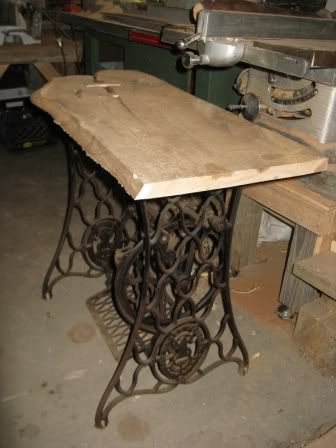 That quickly got ruled out when we actually "fired up" the treadle and realized you need to be coordinated to do this. I think the pain in my knee will go away in a couple of weeks.......


So in case you were wondering what I've been up to in my woodworking career,
I'd like to share with you my journey into...........
the art of turning trees inside out.
So let's get started........So this is what we refer to as "hill-billys shop class"
First off let's look at the shop and the equipment we're using.
I say "we" because I'm doing this with my good friend, Billy.
Neither one of us has ever done anything like this before.
The basic tools needed for turning bowls are a band saw and the lathe.
First the band saw
We've seen these machines that are hundreds of dollars and take up 1/2 your shop and use lots of electricity.
Our fist discussions were geared towards trying to be "green" and not drain the grid of any unnecessary loads.
He likes to think "outside the box" and I keep trying to put him back into it....
So Billy came up with the idea of converting a treadle sewing machine into a band saw..........
So Bill donated this for our first upgrade
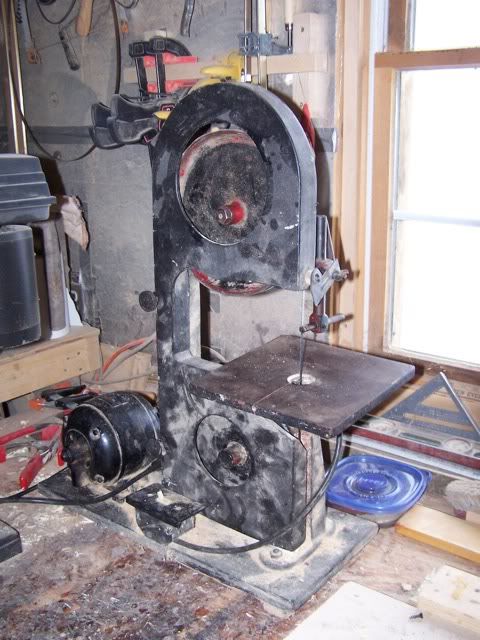 |
| This was given to Bill from an old farmer/friend named Harley.......... |
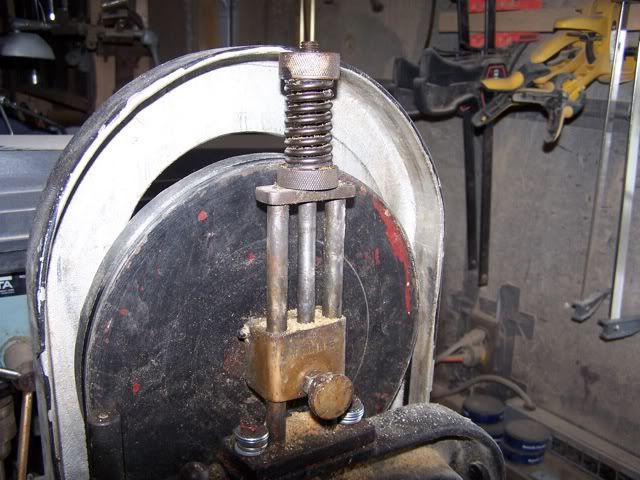
it has the latest technology for the saw guide

a precision tensioning system
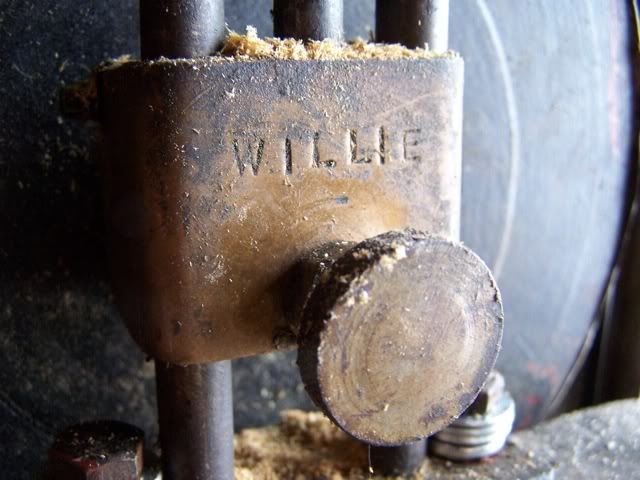
And of course this beauty has a brand name.........
A new blade, some tweaking here and there and it worked like a champ

Now we can cut circles so we can put round chunks of wood on a lathe.
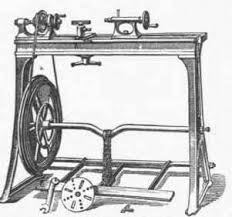
Now we need a lathe.
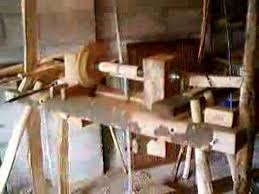
These were the prototypes that Bill had in mind
First the history of how this whole lathe and turning episode in my life got started......
....
A friend of ours, Peter, bought an estate sale and asked if I had any use for an old lathe.
I'd always thought that would be a cool thing to try so I said sure.
I'd always thought that would be a cool thing to try so I said sure.
We went to the estate and dug it out of the corner of a garage where it was sitting under piles of forgotten stuff. We brought it into my garage, flopped it on a workbench and Peter said there! Have fun! and he left.
So for a few weeks it sat there and I dubbed with it but had no clue what I was doing.
So I talked to Bill who has a friend nearby who does bowl & spindle turnings for a living. He said he'd be glad to take a look at but he lived an hour away up by Billy's.
Sooooo we schlepped this thing up to Billy's shop, set it up and invited
Robbie the Professional Wood Turner to come have a look.......
This is what would be at Robbies.......
This is what Robbie saw.......
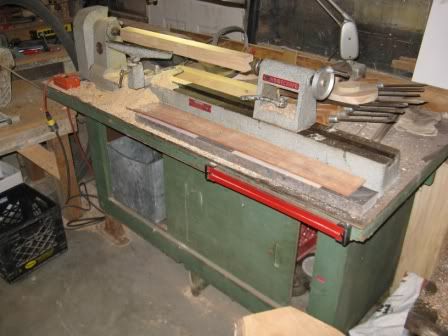 |
| .........let's say.....he was polite............ |
 |
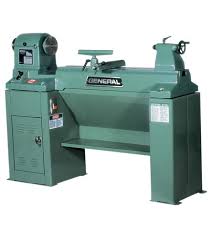
| Homecraft/Rockwell/Delta |
 |
| Rockwell/Delta |
 |
| Precision on/off control.......... |
 |
| easy to reach adjustment bolts.......... |
 |
| .... finely tuned, variable speed, belt drive system |
So now we have a lathe and a band saw................
 |
| Tom & Billy's Playstation |
to be continued....................
Subscribe to:
Comments (Atom)